Products


5m UART Raspberry Pi Laser Distance Sensors Wholesale
Here's a step-by-step guide on how to achieve this 5m UART Raspberry Pi Laser Distance Sensors Wholesale:
1. Hardware setup:
Raspberry Pi: Make sure your Raspberry Pi is powered and connected to your computer or another device via Ethernet or Wi-Fi for initial configuration.
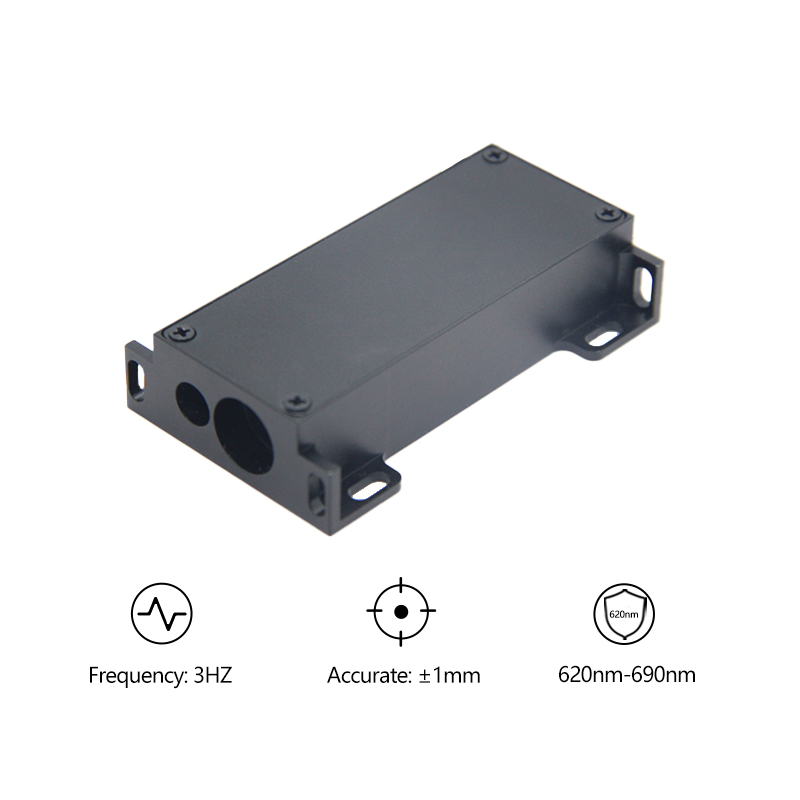
Laser Distance Sensor: Connect the sensor to the Raspberry Pi's UART pins. The typical pins are GPIO 8 (TX) for transmitting, and GPIO 10 (RX) for receiving. Ensure that the power pins of the 5m laser distance sensor is connected to the Pi's 3V3 pin for power and ground.
2. Software installation:
Install the picamera library if you haven't already, as some laser distance sensors might require it for communication:
sudo apt-get update
sudo apt-get install python3-picamera
If the laser distance sensor comes with its own software driver or SDK, follow the provided instructions to install it. Otherwise, you may need to search for a generic Python library that supports the sensor's protocol, such as "laserdist" or create a custom script to read the data.
3. Connecting through UART:
You'll need to use a terminal emulator on your Raspberry Pi (e.g., screen, minicom, or picocom) to communicate with the short laser distance sensor over the serial port. For example, using "picocom":
picocom /dev/ttyAMA0 -b 9600
Replace /dev/ttyAMA0 with the correct serial device (check "/dev/serial0", "/dev/ttyS0", etc.) depending on your setup.
4. Communication with the sensor:
Send commands to the UART distance sensor using the appropriate command set for the specific model. This usually involves sending start/stop characters, followed by a request for distance measurement, and then reading the response from the sensor.
5. Writing a script:
Create a Python script to automate the communication process. You can use the "pySerial" library for handling serial communication:
python
import serial
import time
ser = serial.Serial('/dev/ttyAMA0', 9600) # Adjust the path if needed
ser.flushInput()
# Send commands to the 5m distance sensor here
ser.write(b'CMD_START_MEASUREMENT')
time.sleep(0.1)
ser.write(b'CMD_REQUEST_DISTANCE')
# Read the response
distance_data = ser.read_until(b'rn')
distance = distance_data.decode().strip()
print(f"Distance: {distance} cm")
ser.close()
Replace "CMD_START_MEASUREMENT" and "CMD_REQUEST_DISTANCE" with the actual commands for your TTL laser distance sensor.
6. Integration:
If you want to integrate this into a larger application, you can run this script periodically or in response to certain events, using a task scheduler like "cron".
WHATSAPP: +86 18302879423
Email: sales@seakeda.com